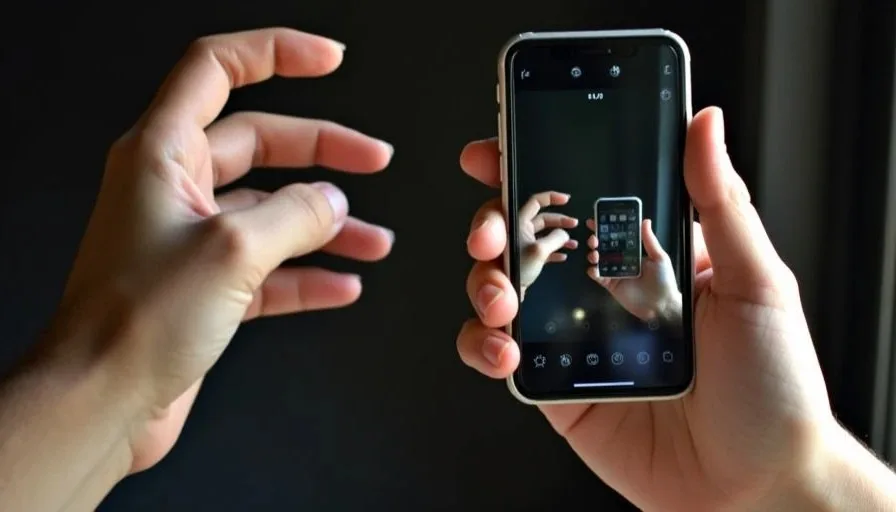
Hi everyone – I'm brand new to palmistry, like never-even-held-a-palmistry-book new. I've been lurking here for a couple of weeks, absolutely fascinated by the readings you all share, and I finally want to post my own palm for a reading. But here's the embarrassing part: I have no idea how to take a decent photo of my hand. I've tried three times already – the lines look blurry, the lighting is weird, and I can't tell if I'm showing the right angle. So before I spam the board with unusable pictures, I figured I'd ask the pros: how do you actually take a clear palm photo that's useful for a reading?
I know this sounds basic, but I genuinely don't want to waste anyone's time. I've read a few random blog posts, but they all say different things – some say natural light, some say flash; some say whole hand, some say close-up. I'm confused, and I'm hoping you can give me a foolproof checklist so I can get it right on the first try.
My failed attempts – and what went wrong
Let me walk you through my three failed photos so you can see where I'm messing up:
Attempt #1 – bathroom mirror selfie style: I held my phone above my palm, used the front camera, and took a photo in my bathroom with overhead fluorescent light. The result? Harsh shadows, my fingers looked weirdly pale, and you couldn't even see the creases – they all washed out.
Attempt #2 – flat on the table, natural window light: I placed my hand flat on a white table near a window, used the rear camera, and tried to hold the phone steady. This time the lines were visible, but my hand was angled slightly, so the heart line curved strangely and the fate line looked crooked. Also, I accidentally cropped out the base of my palm near the wrist – which I later learned is important.
Attempt #3 – with a ring light: I borrowed a friend's ring light, set my hand flat, and took a macro shot. The lines were super clear – but then I realized I'd used my left hand (I'm right-handed), and I'd heard you're supposed to use your dominant hand. So back to square one.
Now I'm sitting here with my right hand, good lighting, decent camera – but I still don't know exactly what to capture. That's where you come in.
My biggest question: left hand or right hand?
I've read about ten different opinions online, and they're all over the place:
Some say the dominant hand shows your active, current life path – what you've actually done with your potential. Since I'm right-handed, that would mean I should photograph my right palm.
Others say the left hand (for a right-handed person) shows your inherited traits, your potential, your "soul" purpose – and the right hand shows how you've modified it. So you should photograph both for comparison.
A few sources say it doesn't matter at all – just pick the hand you use more, because that's the one with the "active" lines.
And then I've seen some readers ask for specific hand only – like "post your left if you're male, right if you're female" – which seems old-school and not widely practiced anymore.
So which is it? If I only upload one hand, will I get an incomplete reading? Should I always upload both, or is that overkill? I want to make it easy for the readers here, but I also want to give them everything they need.
What about the angle and framing?
This is where I'm really stuck. I've seen some photos here that are perfect – you can see the whole palm, fingers slightly apart, wrist included, and all the lines pop. But when I try to replicate that, my hand looks cramped or the lines look distorted.
Specifically, I'm wondering:
Should my fingers be fully extended or slightly relaxed? I noticed when I stretch my fingers straight, the lines flatten and become harder to see. When I relax them naturally, the creases deepen. Which is correct?
How close should the camera be? If I get too close, the edges of the palm get cropped out. Too far, and the lines aren't sharp. Is there a "sweet spot" distance?
Should I include my wrist? I've seen some readers mention that the lifeline starts at the wrist edge, so if I crop that out, they miss the beginning of the line. But other photos just show the palm without the wrist. What's the standard?
What about the side of the hand? Do I need to show the thumb side clearly, or is it enough to shoot straight on?
Flash or no flash? My phone's flash sometimes creates reflections on the skin, which hide the lines. But natural light isn't always bright enough. What's the best lighting setup for a beginner with basic gear?
Which lines should I focus on?
I know there are several major lines – the heart line, head line, life line, fate line, and a bunch of minor ones. But when I take a photo, should I try to capture all of them in one shot, or should I take multiple close-ups of each line?
If I take one wide shot, will the tiny details (like breaks, islands, or branches) be visible enough?
If I take multiple close-ups, how do I label them so readers know which part of the hand they're looking at?
Are there any specific lines that beginners often miss? For example, I've heard the simian line (merged heart and head) can be easy to overlook if you're not looking for it.
What about the mounts (the fleshy pads under each finger)? Do they matter in a reading, and should I try to show them clearly in the photo?
I've also read that you should photograph your hand from the side to show the thickness of the mounts – is that true, or is a flat top-down shot enough?
What I've tried so far – a few tips I've picked up
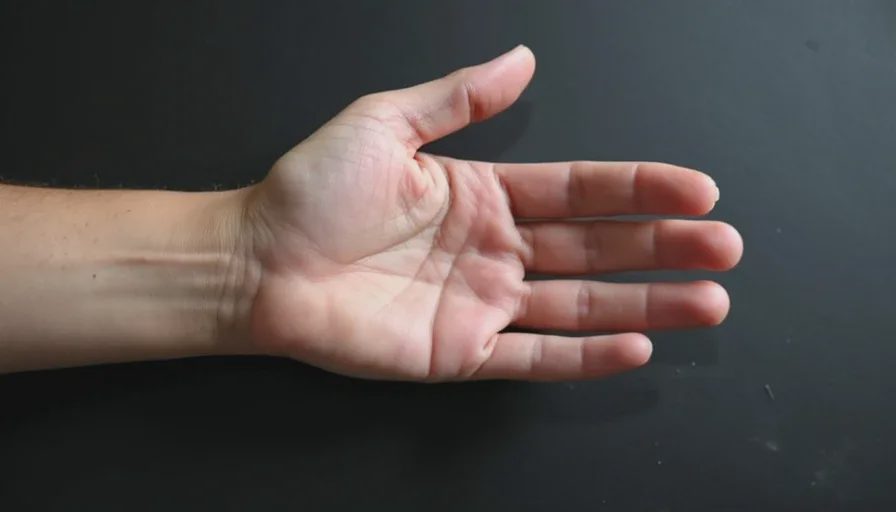
Even though I'm a newbie, I've gathered a few tips from previous threads and external resources. Can you confirm if these are correct?
Use the rear camera, not the front selfie camera – because the rear camera has higher resolution and less distortion.
Take the photo in natural daylight, but avoid direct sunlight – indirect light near a window seems to work best.
Keep your hand at eye level – angling the camera straight down can make the lines look shorter than they really are.
Use a plain, dark background – a black or dark grey surface makes the lines contrast better. White tables tend to wash out the creases.
Make sure your hand is clean and dry – oily skin can reflect light and hide fine lines.
Are these all accurate? Am I missing any crucial step?
What I'm hoping you'll tell me
I'd really love a step-by-step checklist that I can follow – something like:
Wash and dry your hand.
Place it flat on a dark, non-reflective surface.
Position yourself near a window with indirect light.
Use the rear camera, hold the phone about 10 inches away.
Frame from the wrist to the fingertips, with fingers slightly parted.
Take 2–3 shots at different angles (top-down, slight side angle).
Also take a close-up of the thumb area and the wrist line.
Upload both hands (if possible) for comparison.
If you could confirm or correct that list, I'd be so grateful. I don't want to be that person who posts a blurry hand and gets ignored.
Also – if there's a specific app or editing trick that helps bring out the lines (like increasing contrast or sharpness), let me know. I'm not a photographer, but I can follow basic instructions.
A few extra questions for the veterans
Do you prefer photos taken with a phone or a DSLR? Most of us only have phones – is that good enough?
What's the biggest mistake you see beginners make in their photos? I want to avoid those.
Is it better to upload one high-quality photo or several medium-quality ones? I can take multiple, but I don't want to spam.
If my lines are very faint, is there a trick to make them show up better? I've heard of using a bit of lotion or powder – is that a myth?
Should I include a ruler or coin for scale? I've seen some people do that – is it helpful or unnecessary?
A little about me – so you know why I'm asking
I'm 26, female, right-handed, and I work as a graphic designer (so I'm particular about images, ironically). I've always been curious about palmistry but never had the courage to post. I want to start with a proper photo because I take this seriously – I don't want to be dismissed as a "low-effort" poster.
I'm planning to ask for a general reading first – just to understand my basic personality and life trends. But I also have specific questions about love and creativity, so I want the lines to be as clear as possible so readers can give me detailed answers.
What I'll do next
Once I get a few responses confirming the best technique, I'll take a new set of photos and upload them in a separate thread (or maybe in this one, if that's allowed). I'll also take photos of both hands – left and right – so you can compare.
If anyone has a sample photo of a "good" palm picture, that would be incredibly helpful – just so I have a visual target to aim for.